Home theatres are becoming more creative every year, and one of the coolest add-ons you can build yourself is a motorized projector lift. Meanwhile you’re saving space, hiding cables, or simply adding a wow factor to your setup, a lift system powered by a Kathir Sudhir Automation linear actuator is a smart and reliable choice.
In this blog, we’ll walk you through what matters most when building a DIY projector lift and how you can make one with precision, safety, and smooth movement.
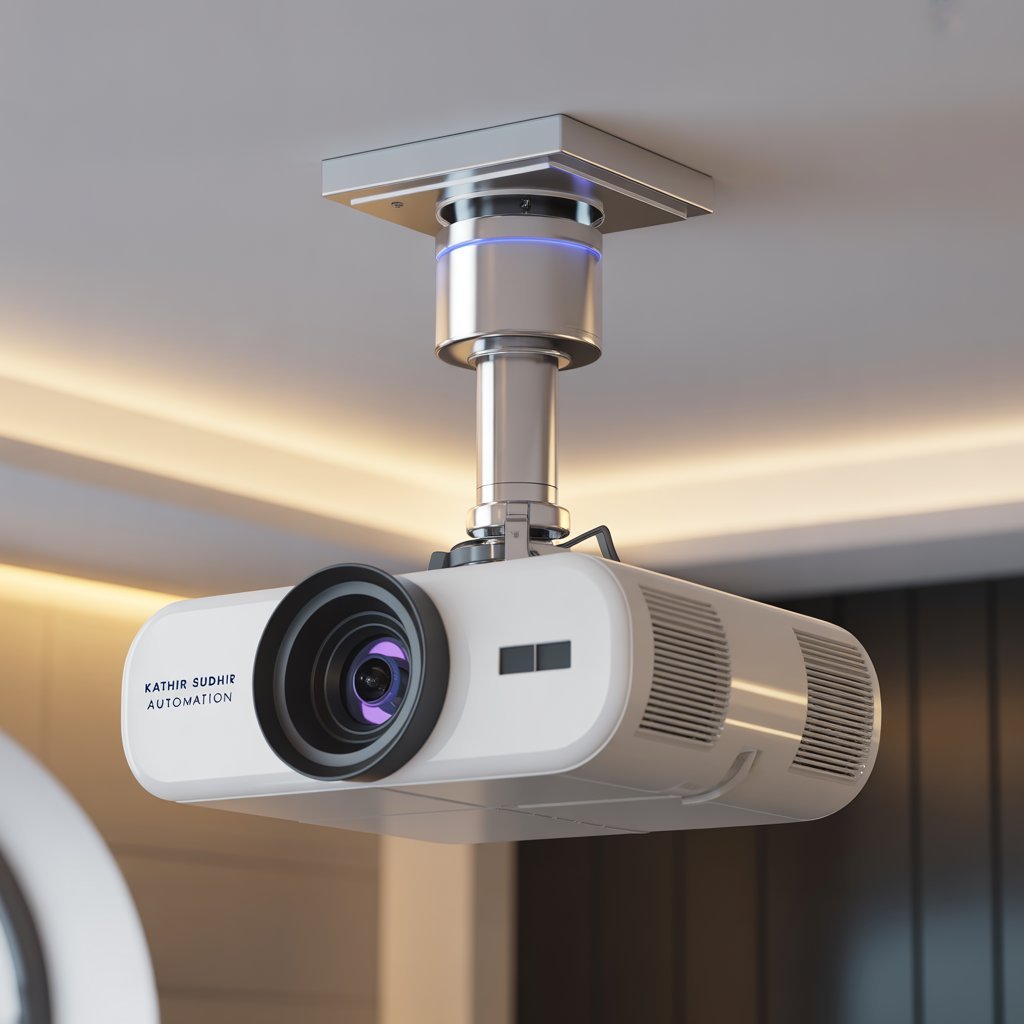
Do-it-yourself projector lift.
Get creative and build the lift yourself!
Creating a projector lift yourself might sound complex, but with the right linear actuator, it becomes surprisingly easy.
A linear actuator converts rotary motion from a motor into straight-line motion—perfect for raising and lowering your projector. Kathir Sudhir Automation actuators are designed for stable, smooth, and controlled motion, making them ideal for ceiling-mounted mechanisms.
Why choose a linear actuator for your projector lift?
- ✔ Smooth and stable up-down movement
- ✔ Accurate positioning
- ✔ Low noise for home theatre environments
- ✔ Compact and easy to integrate
- ✔ High durability with minimal maintenance
Components you’ll need
- A Kathir Sudhir Automation electric linear actuator (stroke depending on required lift height)
- Mounting brackets and frame
- Control system: switch, remote control, or automation controller
- Power supply
- Screws, nuts, and basic tools
With these components, you can build a lift that is not only functional but also visually impressive.
Build your own projector lift with Linear Actuator
We show you what is important and what you should pay attention to!
The success of your DIY lift depends on careful planning. Here are the essential points to consider:
1. Determine the required stroke length in linear actuator
Measure the distance your projector needs to travel from hidden position to full projection height.
Choose an actuator whose stroke length matches or slightly exceeds this distance.
2. Check load capacity
Find the weight of your projector plus the weight of the platform it will sit on.
Select an actuator with higher load capacity to ensure stable and safe operation.
3. Pay attention to travel speed
A slow and controlled movement looks professional and prevents wobbling.
Linear actuators from Kathir Sudhir Automation offer different speed options depending on your application.
4. Ensure proper alignment
Misalignment creates noise, stress on the mechanism, and shorter lifespan.
Use a sturdy frame and make sure the actuator moves perfectly straight.
5. Choose the right control method
You may control your lift in several ways:
- Manual switch
- Wireless remote
- RF/IR integration with home automation
- Smart controller for seamless theatre automation
6. Safety first
Add limit switches or use actuators with built-in limit functionality.
This prevents over-travel and protects your ceiling, lift, and projector.
Conclusion — DIY projector lift with linear Actuator
Building your own projector lift using a Kathir Sudhir Automation linear actuator not only saves money but also gives you the freedom to customize the lift exactly the way you want it. With the right planning, precise measurements, and a reliable actuator, you can create a smooth and professional lift system that truly elevates your home theatre experience.
A DIY projector lift is a rewarding project—practical, innovative, and fun to build. So get creative, gather your tools, and transform your space with a projector lift that moves effortlessly up and down at your command!
Kathir Sudhir Automation India specializes in advanced motion control systems, industrial automation solutions, and medical-grade linear actuator technologies for healthcare and rehabilitation equipment manufacturers.
With recognized industry certifications and multiple awards for innovation in automation systems, the company delivers reliable, high-performance electromechanical solutions tailored for medical and industrial applications.
Certifications & Recognition
Zed Bronze Certificate
Member at Confederation of Indian Industry (CII)
TANSTIA Member Certificate